Creating Coding Assignments Using Assign2
Published on: 2023-05-16 by Edufide
This article describes how instructors can create coding assignments in Assign2 using fast images. Fast images are the supported method for programming assessments: students upload code, Assign2 sends the submission to a prebuilt grading environment, and the autograder returns scores and feedback without requiring a custom image build.
Current supported method: Use a fast image for Python, C and C++, or Java. Custom Docker image builds are no longer part of the supported coding-assignment setup workflow.
Contents:
Create the Assignment Link
For each coding assignment, add an Assign2 tool activity to your course through your Learning Management System (LMS). This option is typically found under External Tools.
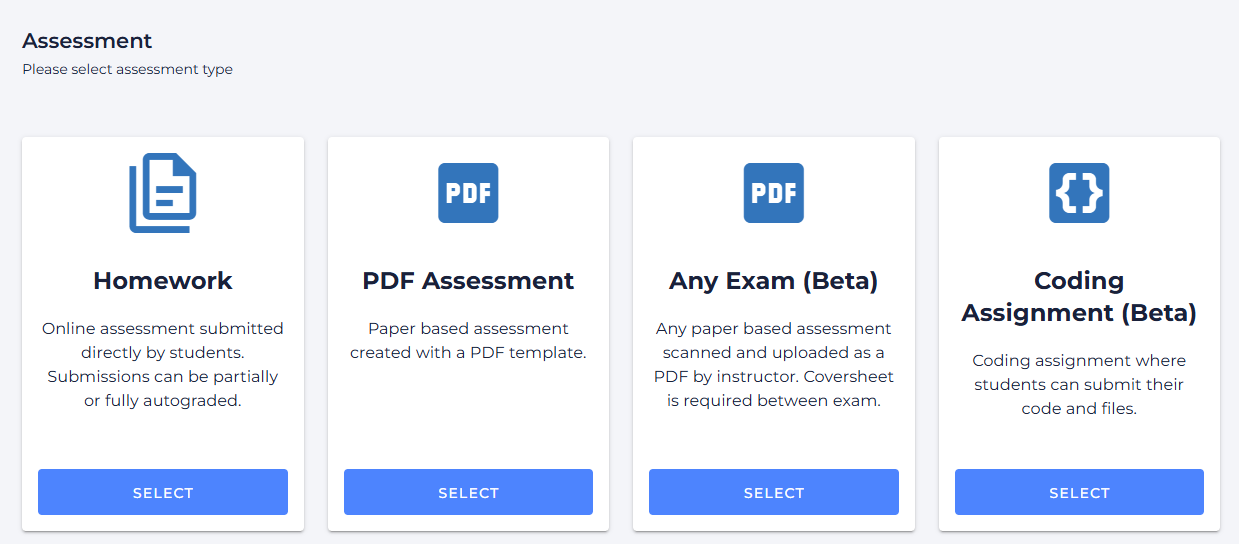
Open the new Assign2 activity and choose Programming Assessment as the assessment type.
Configure Fast-Image Settings
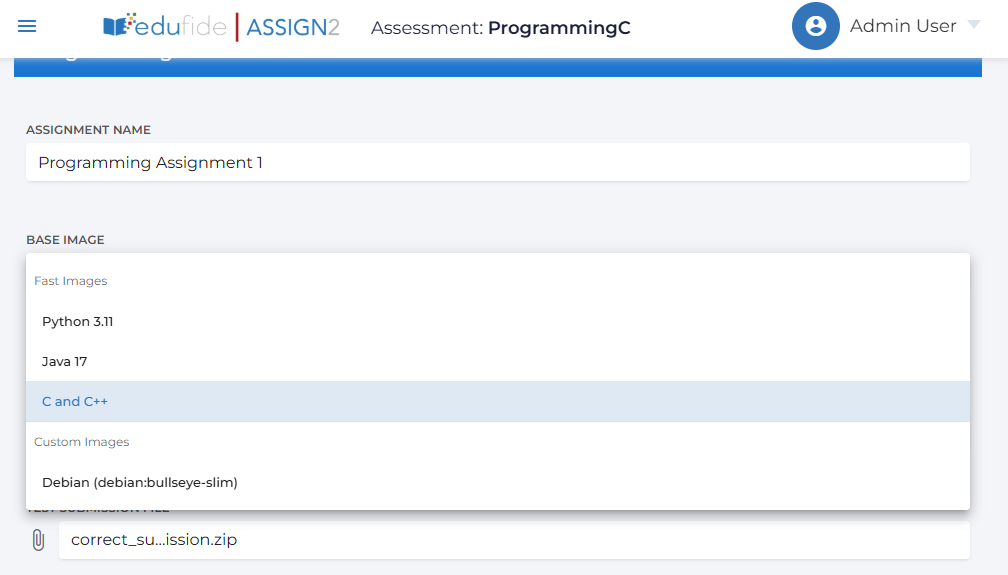
Complete the programming assessment setup form. The key choice is the BASE IMAGE, which selects the prebuilt environment used to run the autograder.
Supported Fast Images
Python 3.11: Use for Python autograders and Python student submissions.
C and C++: Use for C or C++ submissions. This uses the universal fast-image runner.
Java 17: Use for Java submissions and Java-oriented autograders.
Required Settings
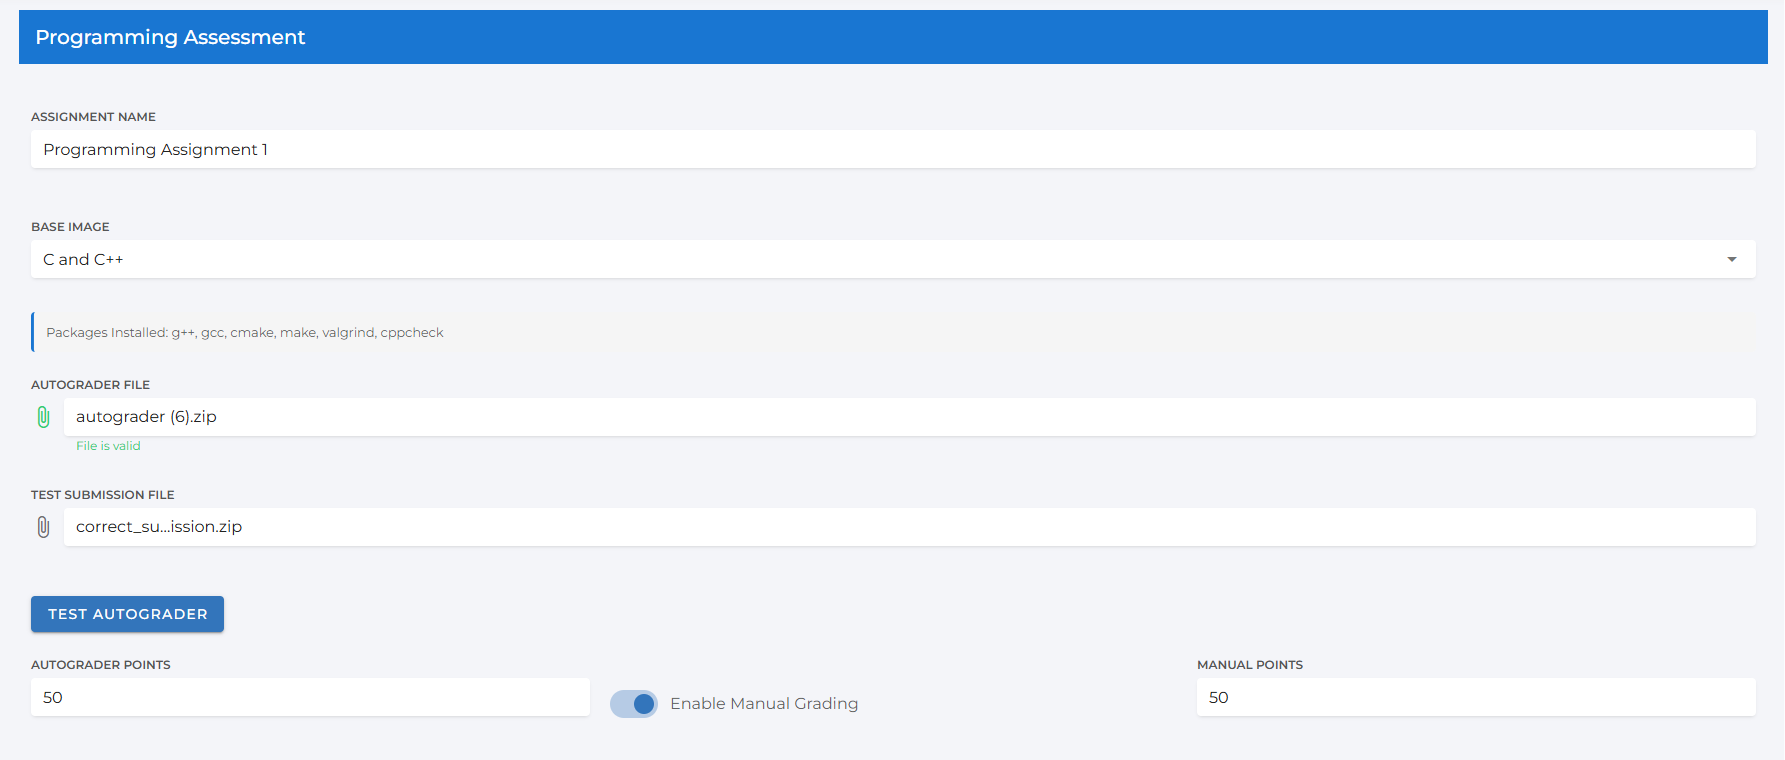
ASSIGNMENT NAME: Enter the name students and instructors will see.
BASE IMAGE: Select the fast image that matches the assignment language.
AUTOGRADER FILE: Upload the instructor autograder as a
.zipfile. Assign2 validates the file after upload.TEST SUBMISSION FILE: Upload a known sample student submission zip so you can verify the autograder before creating the assignment.
AUTOGRADER POINTS: Set the number of points awarded by the automated tests.
DUE DATE: Set the submission deadline.
Optional Settings
Enable Manual Grading: Add a manually graded component in addition to the autograder score.
Allow late submissions: Permit submissions after the due date.
Enable Group Submission: Allow students to submit as groups and set a group-size limit.
Prepare the Autograder Zip File
The autograder zip contains the scripts, tests, and configuration needed to grade student submissions. Fast images run the autograder in a Linux environment with this directory layout:
/tmp/autograder/source: extracted autograder files./tmp/autograder/submission: extracted student submission files./tmp/autograder/results/results.json: the results file Assign2 reads after grading.
Recommended Zip Structure
autograder.zip
├── config.json
├── run_autograder
├── run_tests.py
├── setup.sh
└── tests/
  └── test_example.py
Some autograders use a custom grade.py or another test runner instead of
run_tests.py. That is fine as long as run_autograder creates
results.json in the expected location.
config.json
Include a language value so the fast-image runner can prepare files correctly.
{
"language": "python"
}
Common language values are python, c, cpp, and
java.
run_autograder
This is the main script Assign2 runs. It should copy the student submission into the working directory, run the tests, and write the results file.
#!/usr/bin/env bash
cp /tmp/autograder/submission/*.py /tmp/autograder/source/ 2>/dev/null
cd /tmp/autograder/source
python3 run_tests.py
Results File Format
The autograder must create /tmp/autograder/results/results.json. A typical
result looks like this:
{
"score": 8,
"max_score": 10,
"output": "Autograder completed.",
"visibility": "visible",
"tests": [
  {
    "name": "Basic functionality",
    "score": 5,
    "max_score": 5,
    "status": "passed",
    "output": "Passed",
    "visibility": "visible"
  },
  {
    "name": "Edge cases",
    "score": 3,
    "max_score": 5,
    "status": "failed",
    "output": "Failed on empty input",
    "visibility": "visible"
  }
]
}
Path Compatibility
Some older autograders write to /autograder/results/results.json. The
universal runner maps those paths to Assign2’s Lambda environment for C and C++
assignments. For maximum compatibility, prefer /tmp/autograder paths in
new autograders.
Test the Autograder
Before creating the assignment, upload a test submission zip and click Test Autograder. Assign2 runs the autograder using the selected fast image and displays the returned score, output, and test-level feedback.
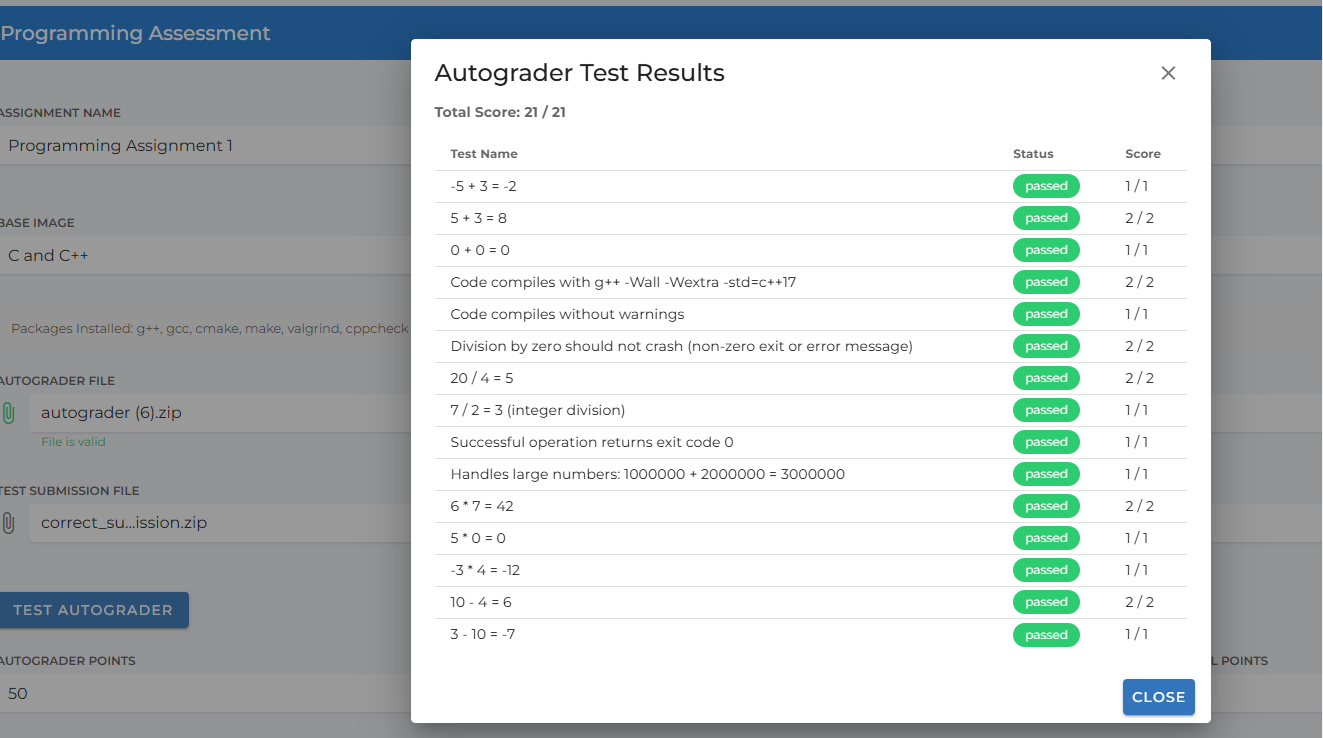
If the test fails, check the output shown in the dialog. Common issues include missing
files in the student zip, incorrect paths in run_autograder, or a results
file written to the wrong location.
Sample Autograders
The following sample autograders can be used to test the fast-image workflow. Each
sample includes an instructor autograder.zip and one or more student
submission zips.
Python Samples
Lab5: Python functions exercise covering many small logic tests. autograder.zip, sample submission
Lab6: Python lab with a smaller multi-test suite for function correctness. autograder.zip, sample submission
LabCustomPackage: Python dependency example that installs and tests
colorama. autograder.zip, sample submissionLabStatistics: Python statistics example using packages such as
statsmodelsandpatsy. autograder.zip, sample submission
C Samples
LabC_HelloWorld: C hello-world assignment that checks compilation, exact output, stderr, and exit code. autograder.zip, correct submission, partial submission, error submission
LabC_CompileError: C compile-clean example that uses strict compiler checks and a simple output test. autograder.zip, correct submission, error submission
C++ Samples
LabCpp_Calculator: C++ command-line calculator with arithmetic, warning, exit-code, and divide-by-zero checks. autograder.zip, correct submission, partial submission
LabCpp_Factorial: C++ factorial program that tests normal inputs, zero, large values, and negative-input handling. autograder.zip, correct submission, partial submission, buggy submission
Java Samples
LabJava_HelloWorld: Java hello-world assignment that checks compilation, exact output, stderr, newline, and exit code. autograder.zip, correct submission, partial submission, error submission
LabJava_CompileError: Java compile-clean example that verifies strict compilation and exact console output. autograder.zip, correct submission, error submission
LabJava_Calculator: Java command-line calculator with arithmetic, warning, exit-code, and divide-by-zero checks. autograder.zip, correct submission, partial submission
LabJava_Factorial: Java factorial program that tests normal inputs, zero, large values, and negative-input handling. autograder.zip, correct submission, partial submission, buggy submission